Launching your own online course platform is no longer a dream exclusive to tech giants or Silicon Valley startups. Whether you’re an educator, entrepreneur, coach, or creator, building your e-learning site in 2025 is easier—and more profitable—than ever before.
In this detailed guide, we’ll walk you through every step of creating a robust, scalable, and user-friendly online course platform—from planning and tools to launch and monetization.
Why Build Your Own Online Course Platform?
Before we dive into the how-to, let’s understand the why.
Benefits of Creating Your Own Platform:
- Full control over branding, pricing, and content.
- Avoid high platform fees from sites like Udemy or Coursera.
- Build long-term equity in your own business.
- Customize features to suit your audience’s learning needs.
- Scale easily by adding multiple instructors or courses.
Step-by-Step Guide to Building Your Online Course Platform
Step 1: Define Your Niche and Target Audience
Before building, clarity is key.
Ask yourself:
- Who do I want to serve?
- What problems am I helping them solve?
- How do they prefer to learn?
Examples of profitable niches:
- Digital marketing for small businesses
- Fitness coaching for moms
- Coding bootcamps for beginners
- Language learning for travelers

Step 2: Plan Your Course Structure and Features
Map out the learning experience.
Things to define:
- Number of modules and lessons
- Assessment types (quizzes, assignments, certifications)
- Learning paths (self-paced, cohort-based, drip content)
- Community features (forums, live chat, comments)
Use tools like Notion, Miro, or Trello to plan your content and structure visually.
Step 3: Choose the Right Technology Stack
You have two main options:
1. No-Code Builders (Fastest & Easiest)
- Thinkific, Teachable, Podia
- Great for solo creators and small teams
- Limited in customization and branding
2. Self-Hosted WordPress LMS
- Recommended for serious course entrepreneurs
- Full flexibility, customization, and scalability
- Use plugins like:
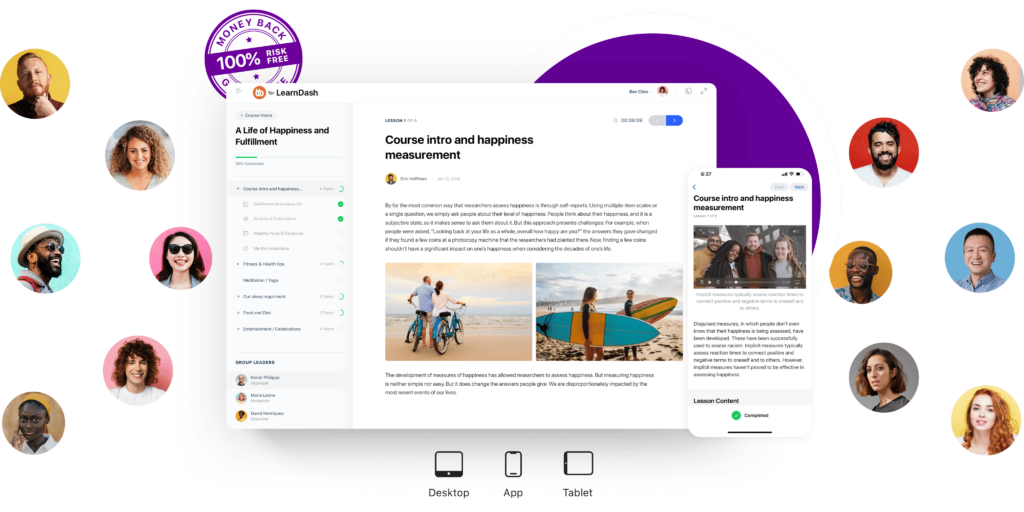
- LearnDash
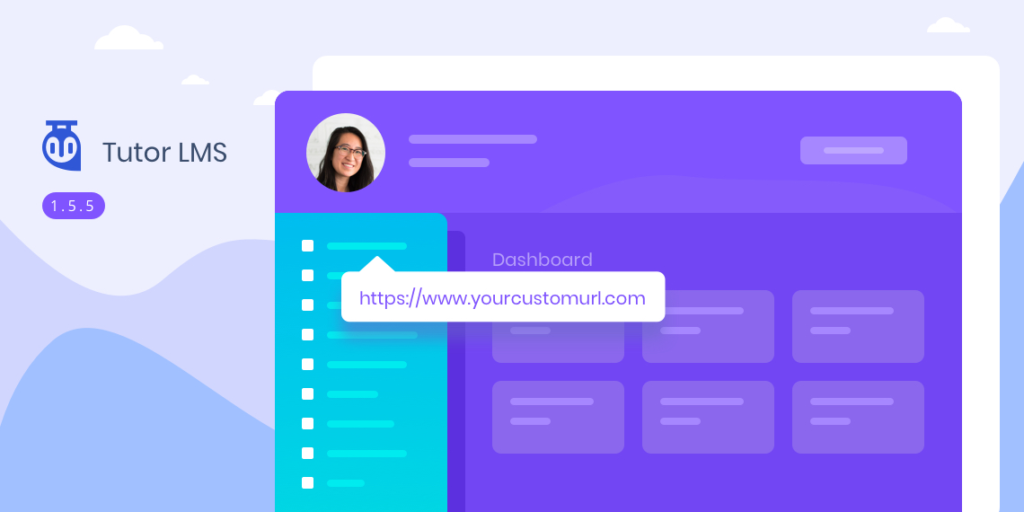
- Tutor LMS
- LifterLMS

Required tech stack for self-hosting:
- Domain name and hosting (e.g., SiteGround, Cloudways)
- WordPress CMS
- LMS Plugin
- Page builder (Elementor recommended)
Step 4: Design Your Platform (UX + UI)
A great design can make or break your platform.
Design must-haves:
- Clean and responsive layout
- Clear course navigation
- Mobile-friendly interface
- Progress tracking
- Certificate generator
Recommended Themes:
- Astra
- Kadence
- BuddyBoss (best for community-driven courses)
Step 5: Create High-Quality Course Content
This is your core value proposition.
Types of content to include:
- Video lectures
- Slide presentations
- PDF worksheets
- Quizzes and assignments
- Discussion prompts
Tips for quality content creation:
- Record with good lighting and sound
- Use tools like Camtasia, Loom, or OBS Studio
- Use scripts or outlines to stay focused
Step 6: Add Essential Features and Integrations
To compete with platforms like Coursera or Udemy, add:
- Payment gateways (Stripe, PayPal, Razorpay)
- Email marketing tools (ConvertKit, Mailchimp)
- Affiliate system (AffiliateWP)
- Gamification (BadgeOS, GamiPress)
- Analytics (MonsterInsights or Google Analytics)
Step 7: Test the Platform (UX + Tech)
Do a soft launch or beta test with a few users.
Checklist for testing:
- Smooth video playback
- Mobile responsiveness
- Quiz and certificate functionality
- Payment gateway working
- No broken links or slow loading
Use Hotjar or Clarity to monitor user behavior.
Step 8: Launch and Market Your Platform
Now it’s time to go live!
Launch strategies:
- Email your existing audience
- Run webinars or live launches
- Offer early bird discounts or bonuses
- Use paid ads (Facebook, YouTube, Google)
Content marketing is key—use SEO, blog articles, and YouTube videos to build long-term traffic.
Step 9: Monetize Your Platform
Multiple ways to generate revenue:
- One-time payments
- Monthly/annual subscriptions
- Freemium model
- Course bundles
- Community membership
- Affiliate partnerships
Step 10: Scale and Improve Over Time
Your platform is live—now focus on growth.
Ways to scale:
- Add more courses or instructors
- Start a certification program
- Create a mobile app
- Collaborate with industry experts
- Build a community or mastermind
Use learner feedback to continuously refine your offerings.
Platforms Like Yours: Real Examples for Inspiration
- Maven – Cohort-based learning
- AltMBA – Premium community courses
- Farnam Street’s Learning Community – Membership model
- Zero to Mastery – Self-hosted LMS with top instructors
Use these examples to inspire your layout, content strategy, and branding.
FAQ: Building an Online Course Platform
Final Thoughts
Creating your own online course platform is one of the most empowering things you can do as a digital educator or entrepreneur. It’s not just about income—it’s about impact, autonomy, and building a long-term brand.
With today’s tools, building and scaling your own e-learning empire is more achievable than ever.
So what are you waiting for?
Author Profile
- At Learners View, we're passionate about helping learners make informed decisions. Our team dives deep into online course platforms and individual courses to bring you honest, detailed reviews. Whether you're a beginner or a lifelong learner, our insights aim to guide you toward the best educational resources available online.
Latest entries
 Course PlatformsOctober 3, 2025We Asked 10 Experts: What’s the Best Online Course You’ve Ever Taken?
 Career GrowthOctober 2, 2025MIT OpenCourseWare Review: Can Free Courses Compete with Paid Ones?
 Course PlatformsOctober 1, 2025How Online Learning Changed My Career – Real Student Stories
 Course PlatformsSeptember 16, 2025Best Graphic Design Courses for Freelancers